Today I'm sharing a step by step tutorial by request for a technique used recently at craft class.
It uses a wax candle to create a distressed resist background.
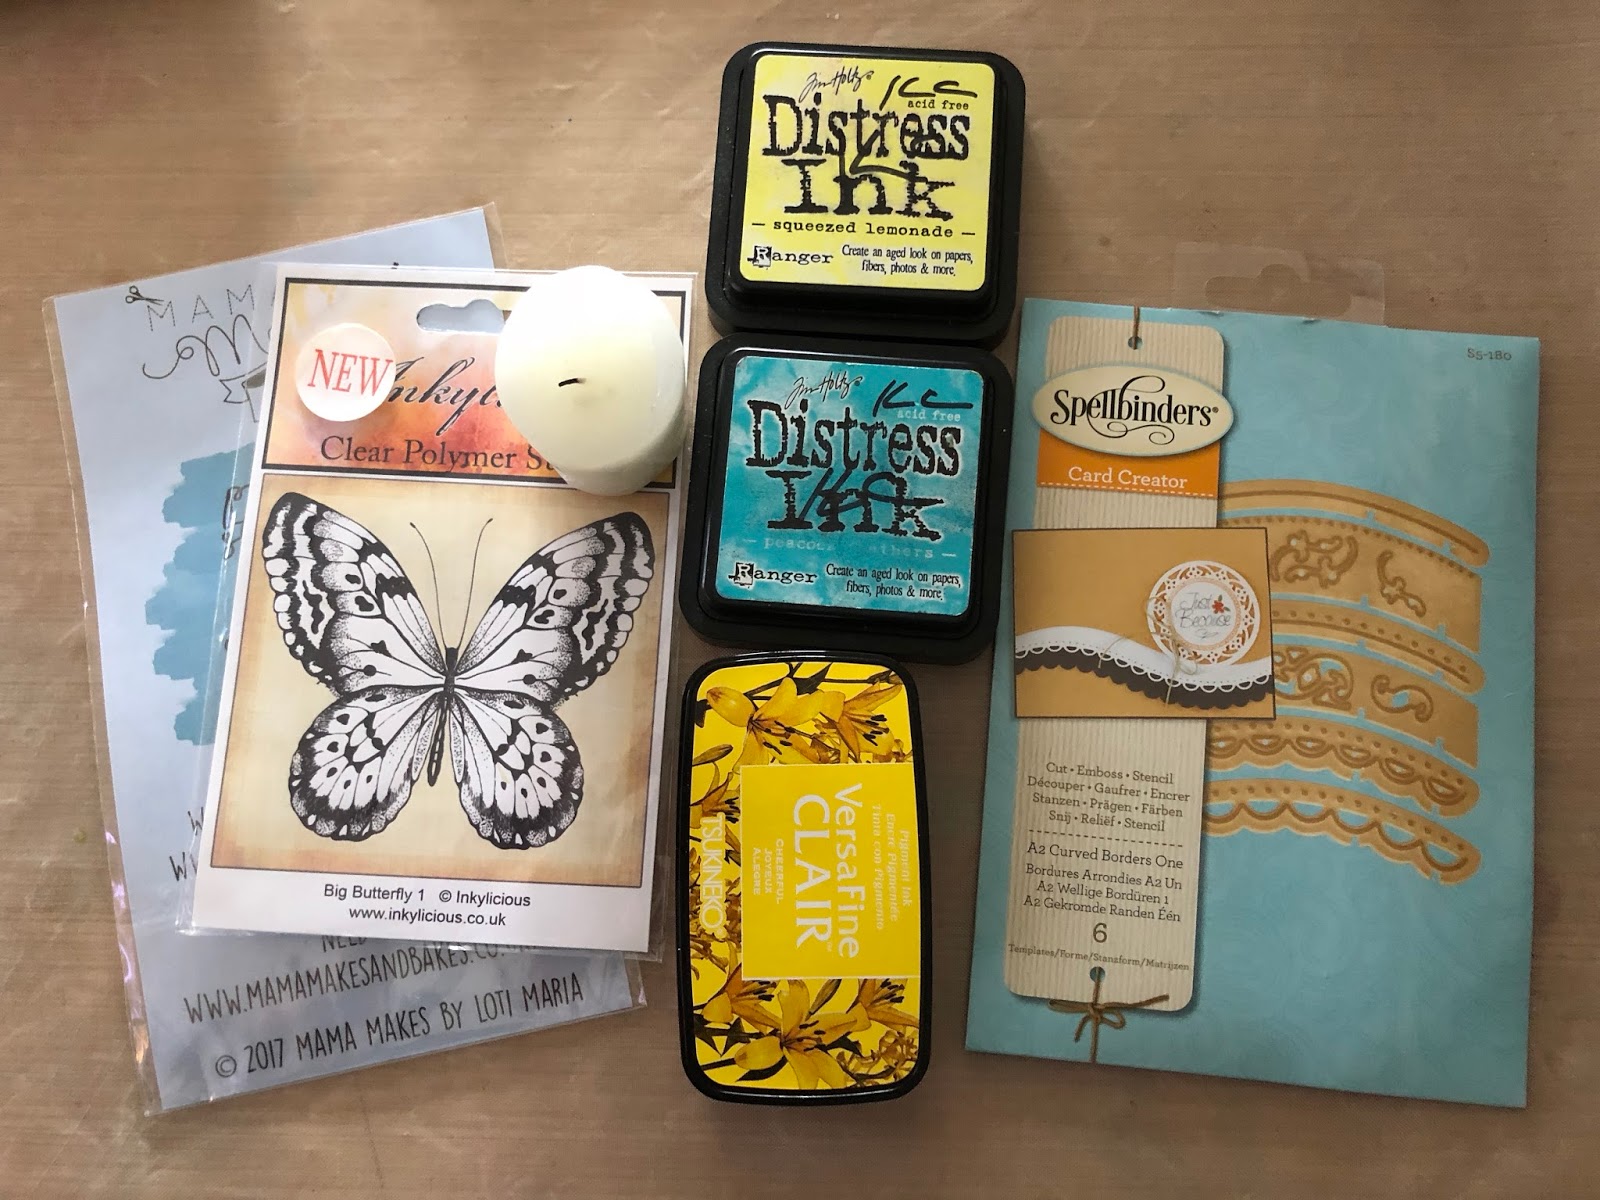
Sentiment stamps from Mama Makes, watercolour inspirations,
Spellbinders die set - card creator, curved borders 1,
Jeanine's Art Christmas Classics embossing folder - Christmas Tree.
I also used distress inks and Versafine Clair cheerful ink pad, these ink pads are a dream to stamp with, I love their vibrancy and clarity.
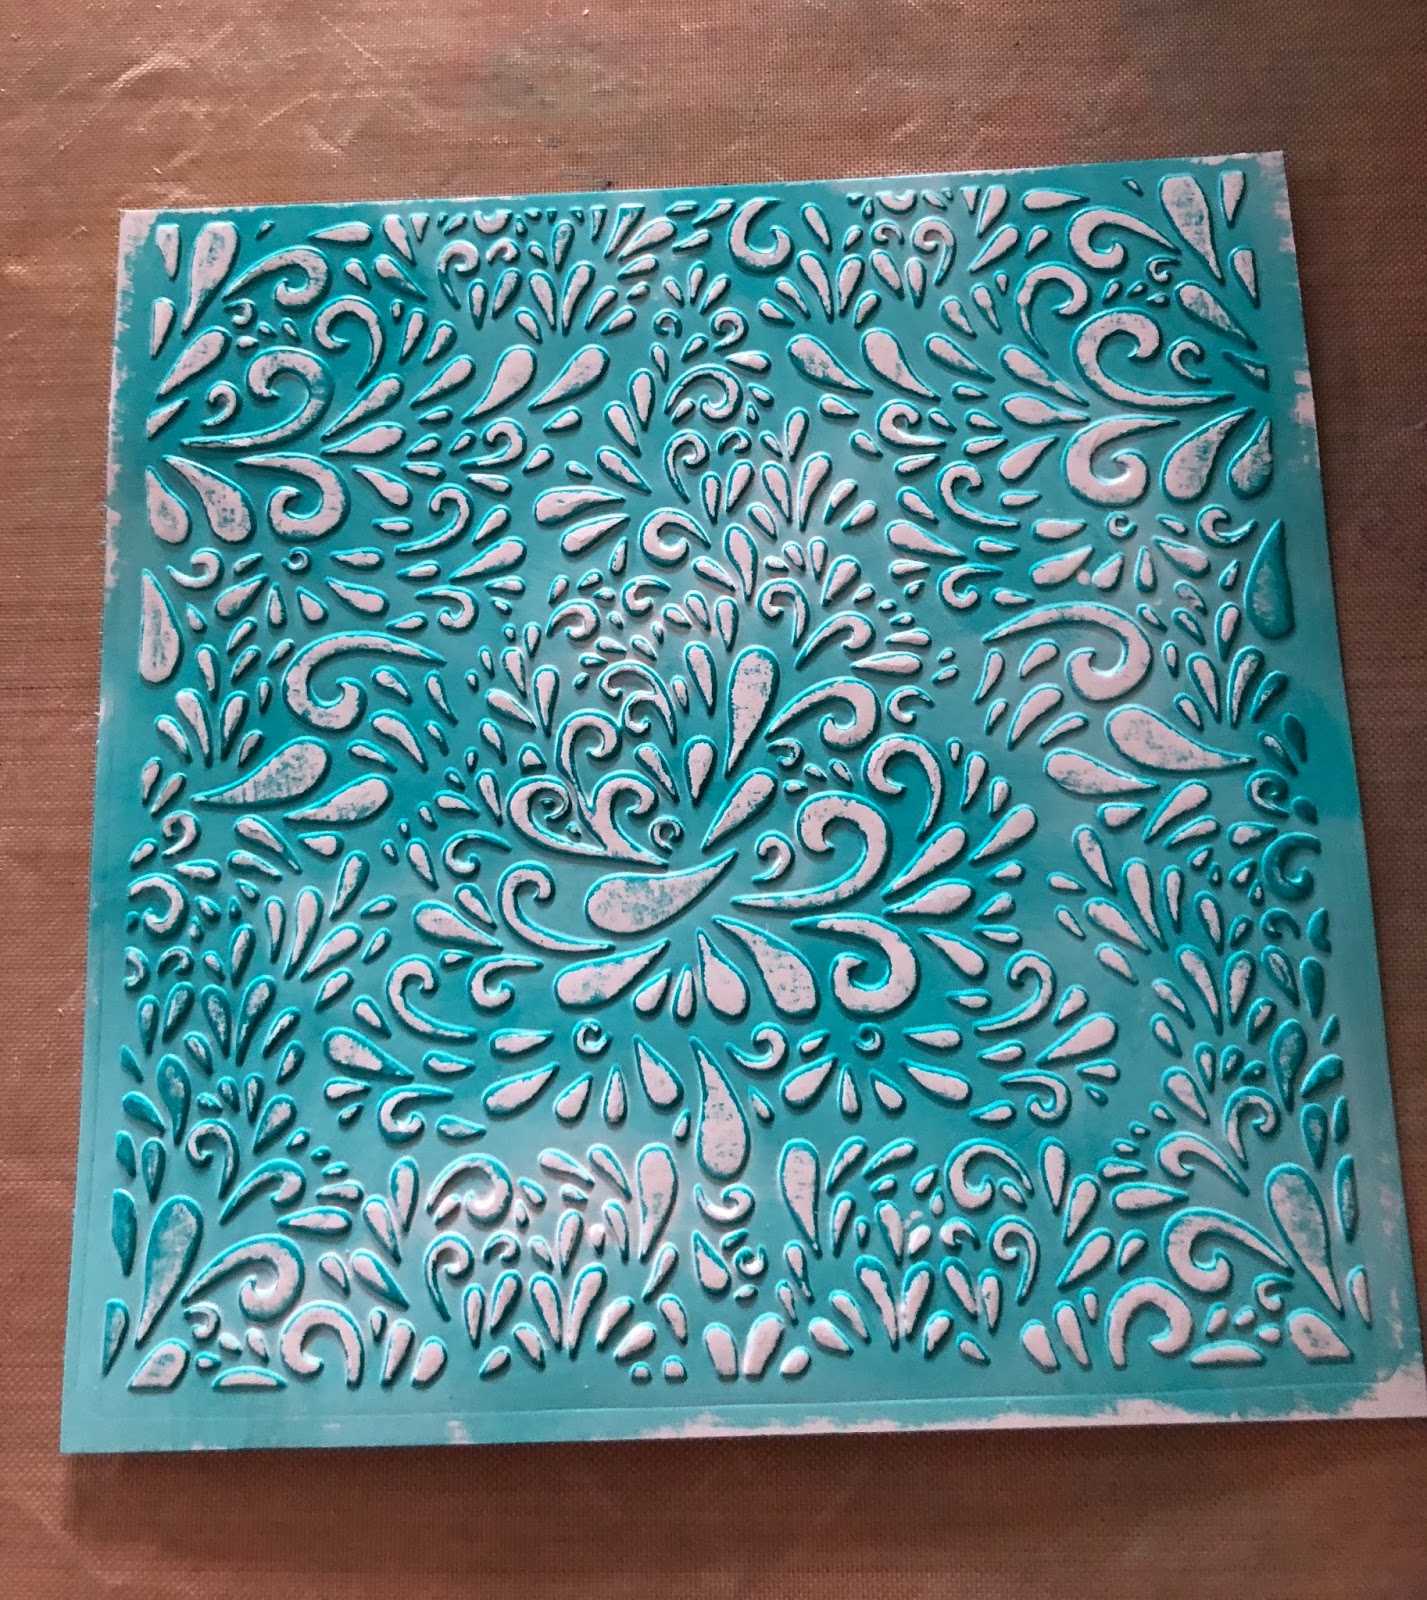
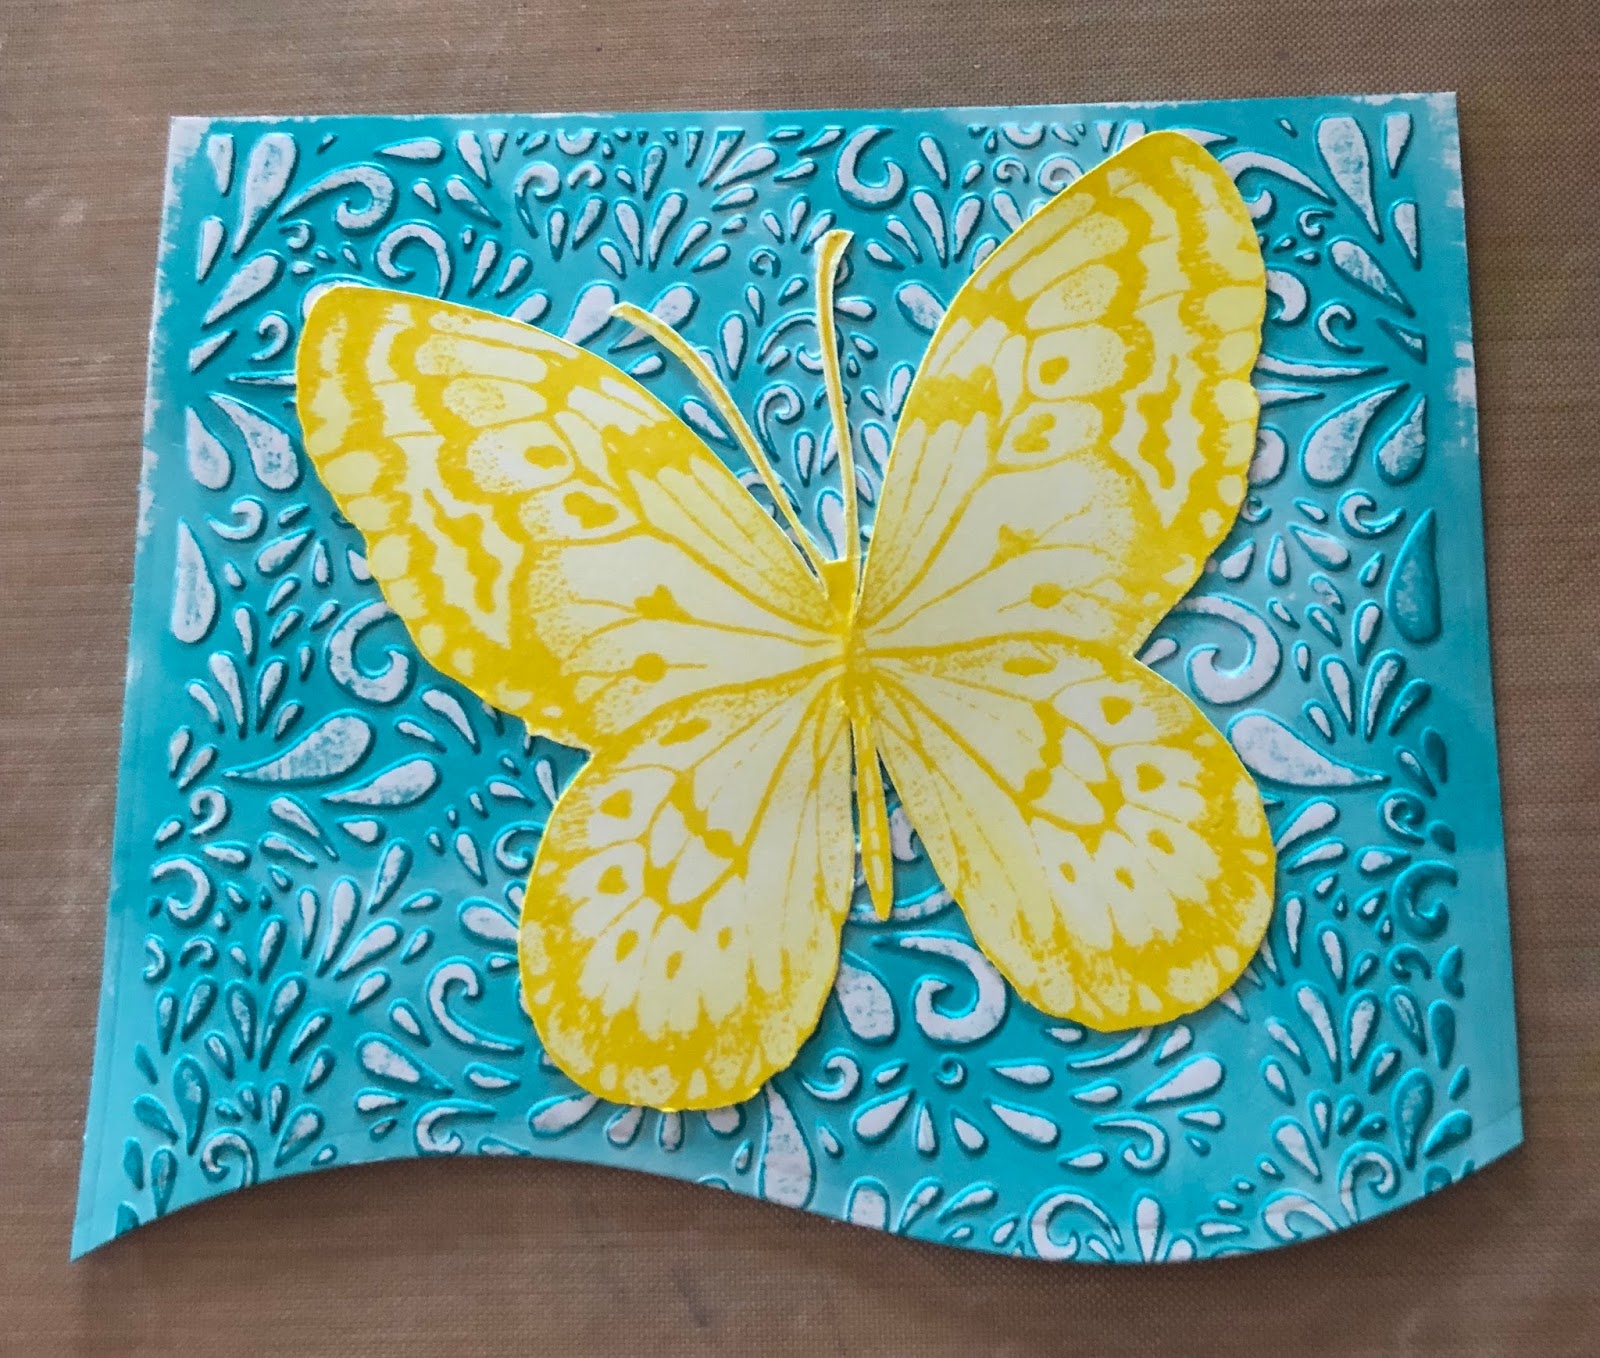
To start with I've used the embossing folder and cut a piece of glossy card to size.

Once the card was embossed I rubbed the whole surface with the side of a candle to apply wax to the surface, then on top of the wax surface blended distress ink with a smoothie sponge.
The colour used is Peacock Feathers.

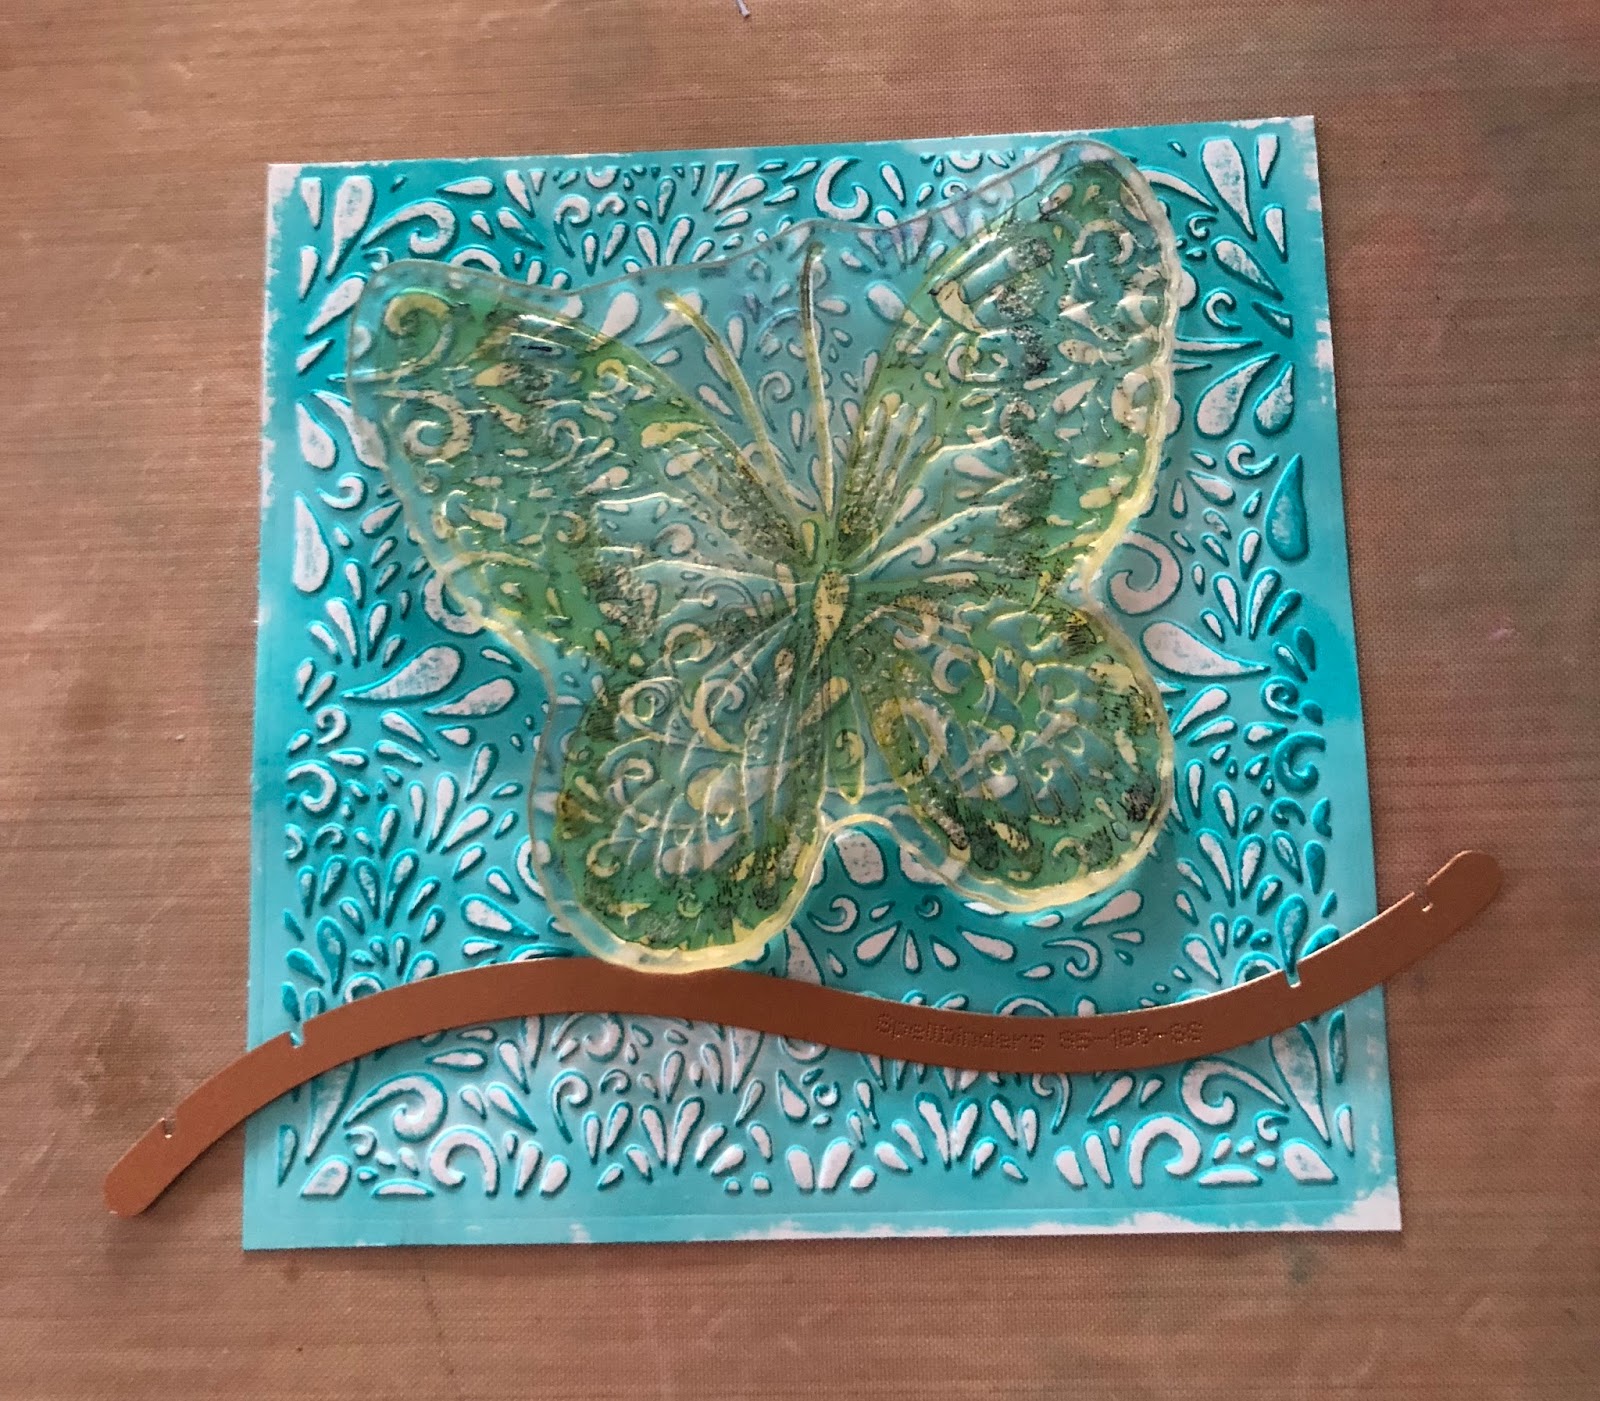
Place the stamp in position to decide where to cut the curved die through the card.
Remove the stamp and use low tac tape or a magnetic shim to hold the die in place for cutting.

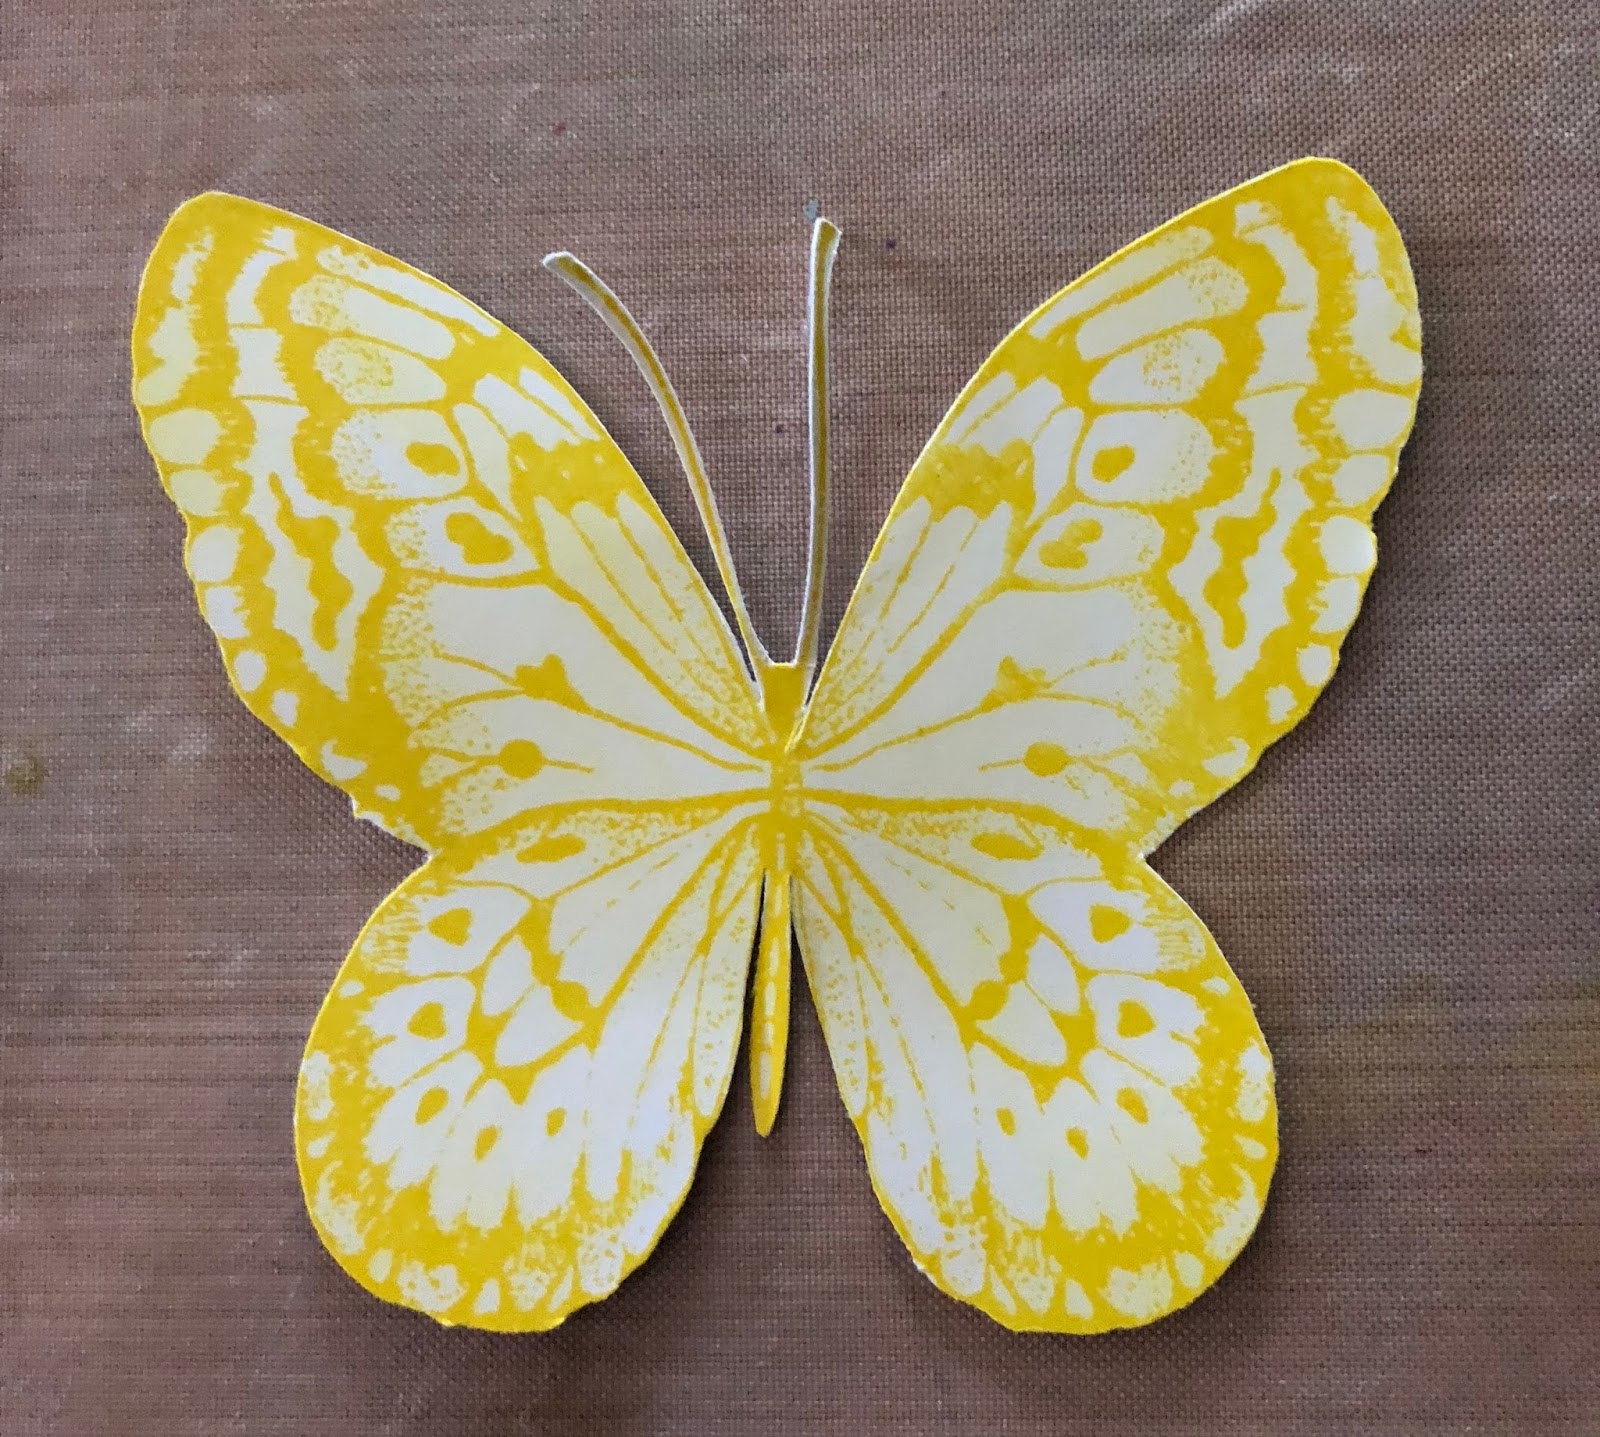
Stamp the butterfly onto smooth white card using the Versafine Clair.

Roughly cut round the butterfly edge and apply sellotape behind the antenna area, this will allow for easier detailed cutting, as the image has not been heat embossed which also makes cutting easier.
At this stage I also blended some Squeezed Lemonade distress ink over the stamped image.
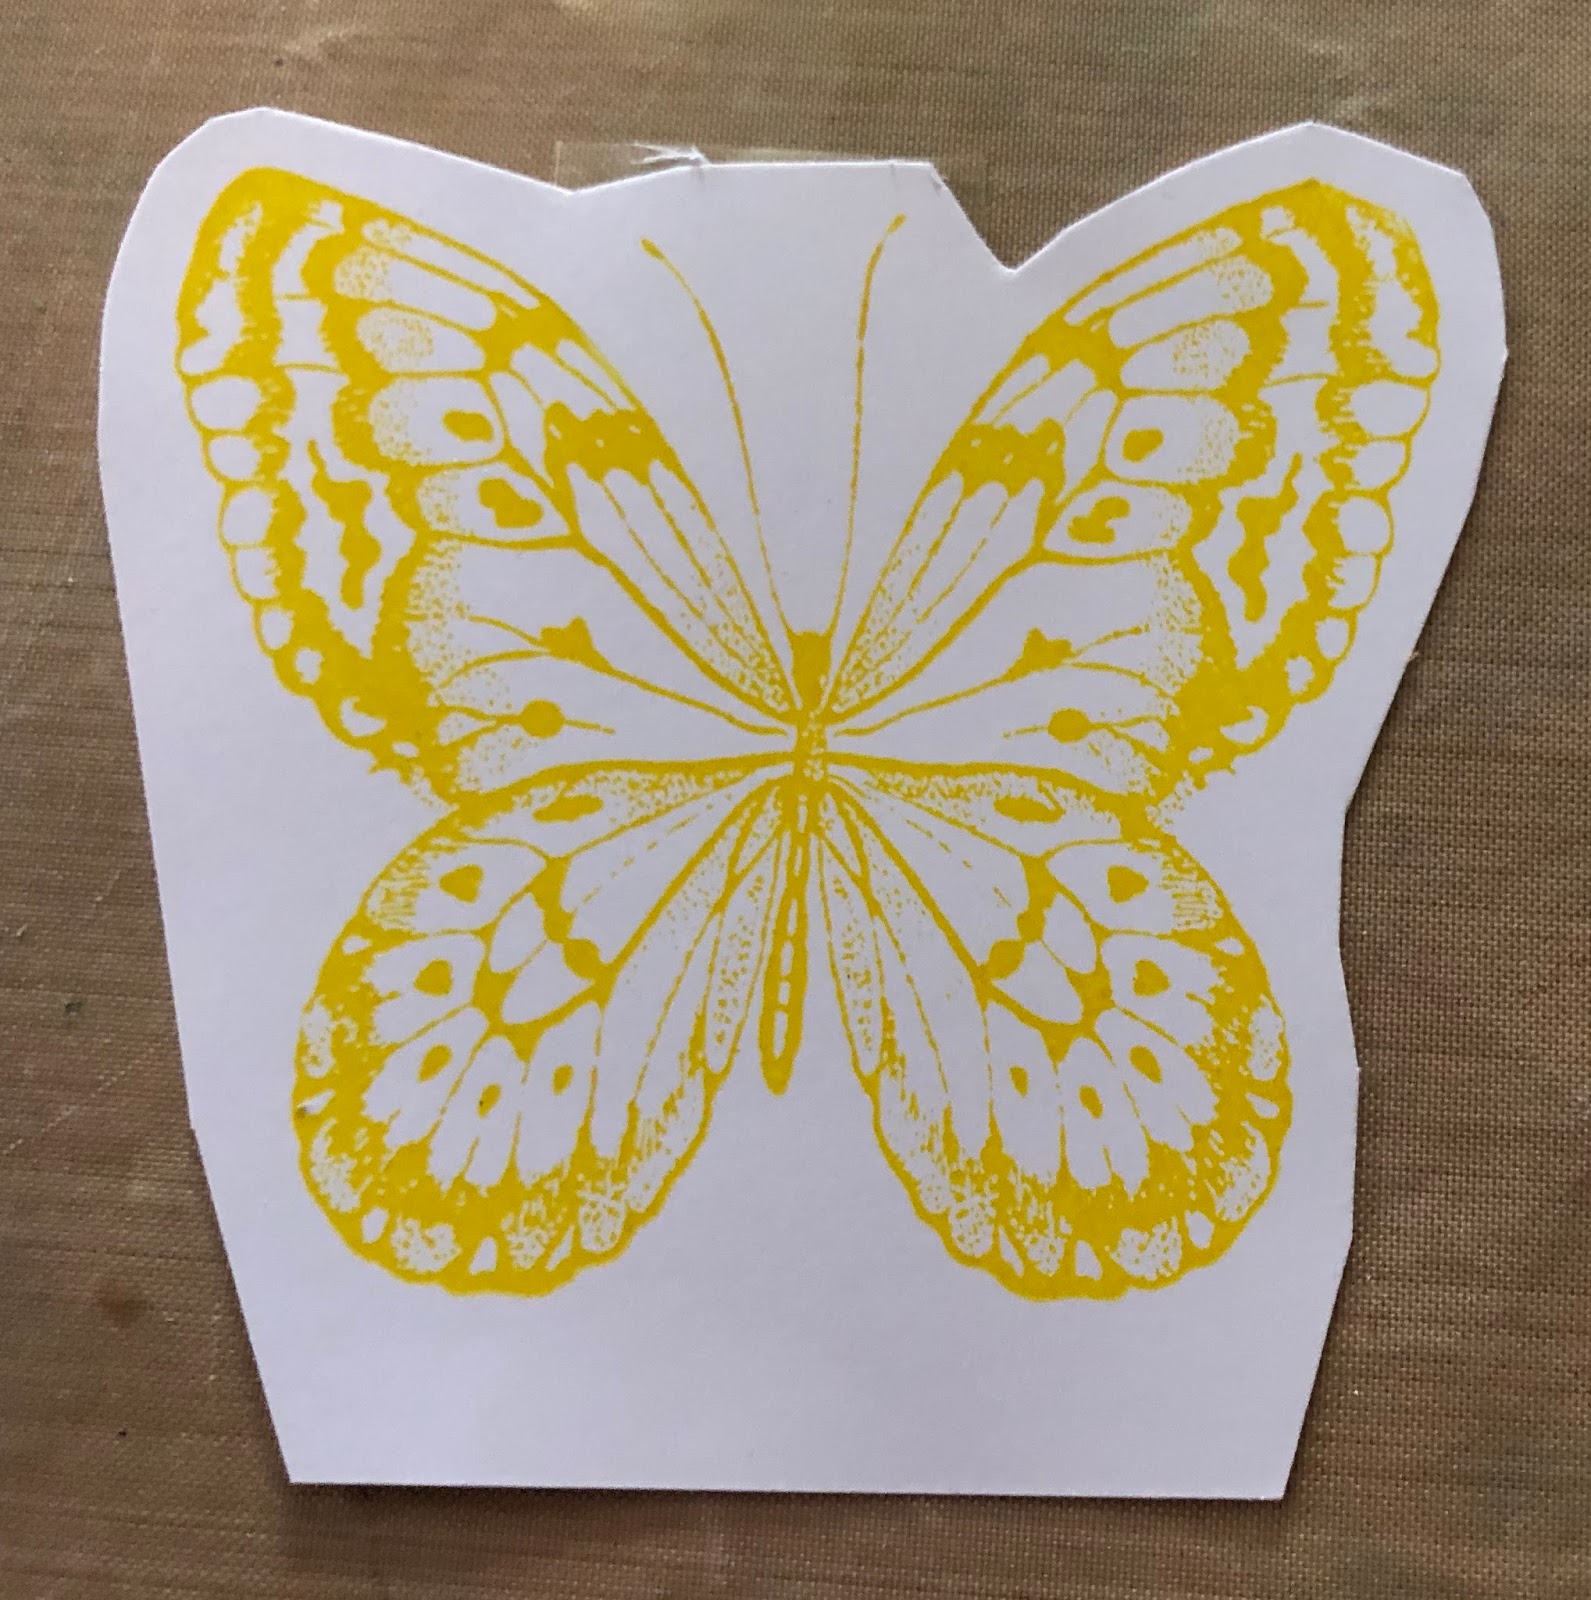


Then fussy cut the butterfly.

Mount the butterfly in position on the embossed, coloured card and glue in place.
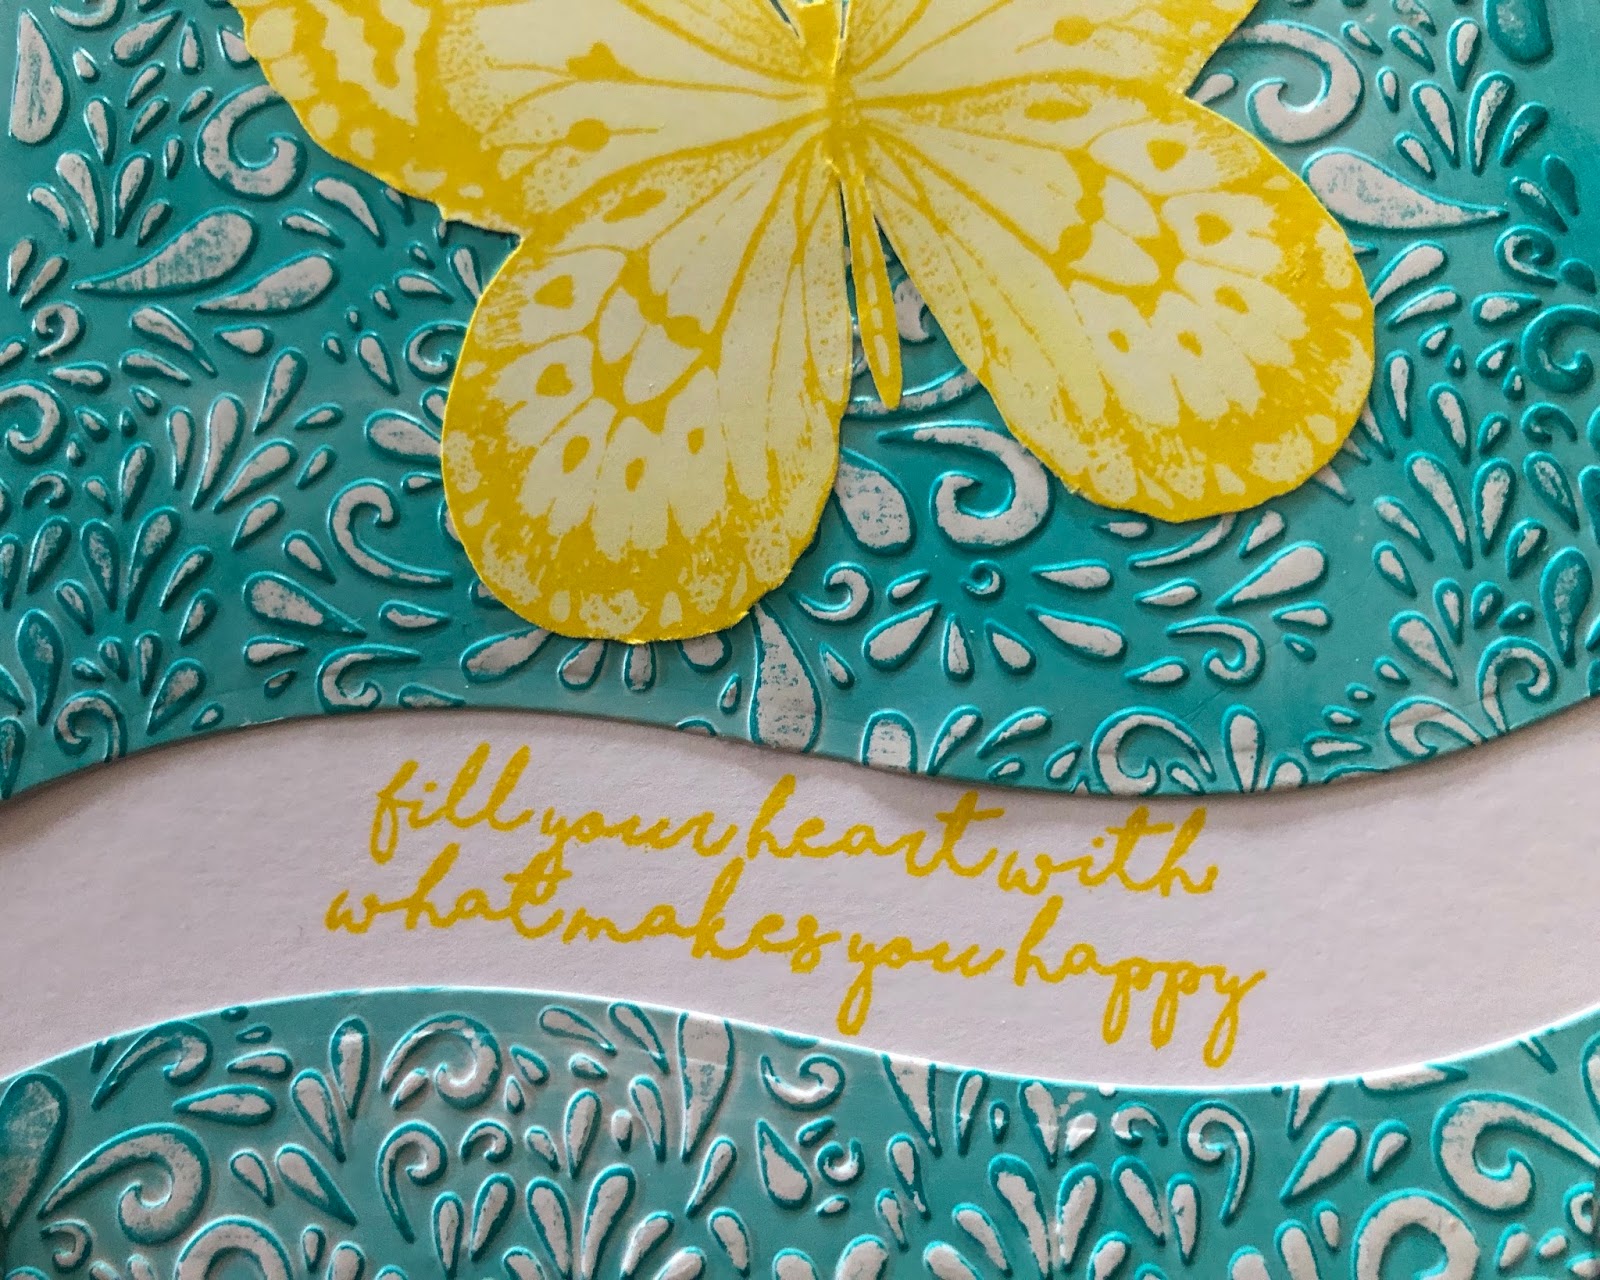
Choose a sentiment to stamp and position the card pieces before gluing to determine how much space is needed for the stamped sentiment/s.
This is where a stamp press tool comes into it's own to stamp the sentiment/s in position on the card.

I stamped the sentiment with the Versafine Clair ink, look how crisp and vibrant the colour is.

We had a lovely time using this technique at craft class and below are some more ideas and cards created in the class, aren't they all just fabulous!
Have a lovely day xKx


No comments:
Post a Comment