Sunday, 11 August 2013

Audrey Hepburn Collection


Good evening bloggers,
Hope it's been a good weekend for you all, the weather here has been really nice again and I know a lot of you have been involved in crafty activities this weekend.
As I mentioned in my previous post I love Audrey Hepburn!
For all these makes I have used two stencils from
 The Stencil Studio, they were really helpful as I asked them if it were possible to have the two stencils cut to A6 size which they did very quickly too.
If you pay them a visit perhaps you could give me a mention, they know what I've been making...
Anyhow on to my makes.
The first is an MDF clock which I painted in a Tiffany style colour and used the Clarity Letterbox Kit along with Flowers from Sweet Lilac, white grosgrain ribbon with a pearl ribbon slider again from Sweet Lilac.
I used black Archival to sponge colour on through the stencil, this does stain the stencil but I wanted a crisp black image and was delighted with the result.
This next card was inked through the stencil using a sponge with Peacock Feathers distress ink which I also used around the edge of the image.
A die cut trim, ribbon and flower embellishment to finish.
The following two cards used alcohol inks and laminating, stamping with black Archival ink.
I added the Filmstrip edging which is made using a ribbon punch and black card, the punch was also used on the edges of the cards where the ribbon is threaded through.
The wording was created with my label maker.
Clarity stamps used - A thing of Beauty, The Rose, Feminine and the Butterfly.

The pink card uses pink Raspberry distress ink to make the stripe background and to ink through the stencil.
Two blooms from Sweet Lilac, stamens from my stash and gems add the finishing touch.

Next is simply monochrome with Die cuts, ribbon and gems.
For the last two cards I created backgrounds using distress inks and mica powders with unconventional use of stencil paste.
I randomly sponged this through stencils, using gold and pearlescent paste.
The rose and butterfly have been glazed with Glossy Accents and clear dew drops added on the butterfly design.
Using same Clarity stamps.


Lastly two MDF plaques which have been painted and inked the same as the clock.
I stamped the Clarity Chandelier, added flowers from Sweet Lilac and gems.
Wording using my label maker and ribbon to hang.
I really enjoyed making these and hope you like them and gain some inspiration.
Hope the week ahead is good for you...xKx

Links -
http://www.thestencilstudio.com

Clarity Stamps

Sweet Lilac Flowers


Friday, 9 August 2013

First peek at my Audrey Hepburn Collection...

I've always adored the style, sophistication and glamour of Audrey Hepburn.
A classic icon.
So I've been thinking for a while how to create a crafty "collection" featuring the lady herself.
I spent hours researching how to achieve this and had almost given up hope but, I'm pleased to say "Tah Dah" it's here!
I have made several items of which this is the first and I will reveal how I did it all when I post the whole "collection"
I'd like to enter this into the following challenges - 


Bingo Card
using the line - Blue, Ribbon and Die Cut

Anything Goes with Ribbon

Something Old Something New
Old - die cut edge trim
New - almost everything else!

Anything Goes with added Vintage -
I guess Audrey is a Vintage Icon...

I hope you like this make, more to follow....xKx


Next Workshop Date - November 10th


I'm now able to offer places on this date for a workshop 10am - 2pm
Clocks and more!
Projects to include at least one CD clock and one other MDF or Greyboard alterable item.
For booking and further details please email

craftyk@hotmail.co.uk

Hope you can join us!

Thursday, 8 August 2013

Clarity Christmas samples

This months samples from C&C with Barbara, I will be blogging about them during the month.
All but one using Gelli plate backgrounds that I'd created while playing , they became my inspiration for these cards.
An overview for you in the meantime...xKx

Missing Piece of My Heart

Hi De Hi Bloggers,
I've scheduled this post to share while I am taking a bit of a break and playing "catch up" with my ever growing "To Do" list! Lol
I'm not sure how that will will work as I know I'll have a back log of  messages and emails to respond to upon my return.
In theory it was a good idea at the time, anyhow this is my make.
It uses the Jigsaw set from the recent Lesson 20 preview of In The Classroom with Barbara Gray.
The two piece stamp set, complete puzzle and single puzzle piece also comes with a mask set of all the pieces which makes it so versatile and pretty fun to use too!
I knew I wanted to create this "idea" and just had to think through how I was going to achieve the desired effect.
I set about practising on scrap paper first.
There may well be other ways of doing this but in the end this is how I did it.
I stamped the complete Jigsaw piece and then masked off the " missing piece" I could then stamp the heart and when the mask was removed "Et voila" you have a missing piece.
The tricky part was to create the correct image in the missing piece.
I stamped the missing puzzle piece onto a piece of card and cut it out.
Then I masked off all the pieces except for the missing piece and in the place of the missing piece I placed my cut out puzzle piece.
This meant that when I stamped the heart in position it would give me the section I needed on my missing piece.
The Letterbox Kit came into play for the wording and I matted and layered the puzzle, coloured with Promarkers.
The missing piece is layered using foam pads and I added a red gem for a bit of romantic interest.
If you are interested in seeing this done in stages in a tutorial let me know and I'll do one.
I hope you like it and that you find some inspiration for using this set...xKx


Thursday, 1 August 2013

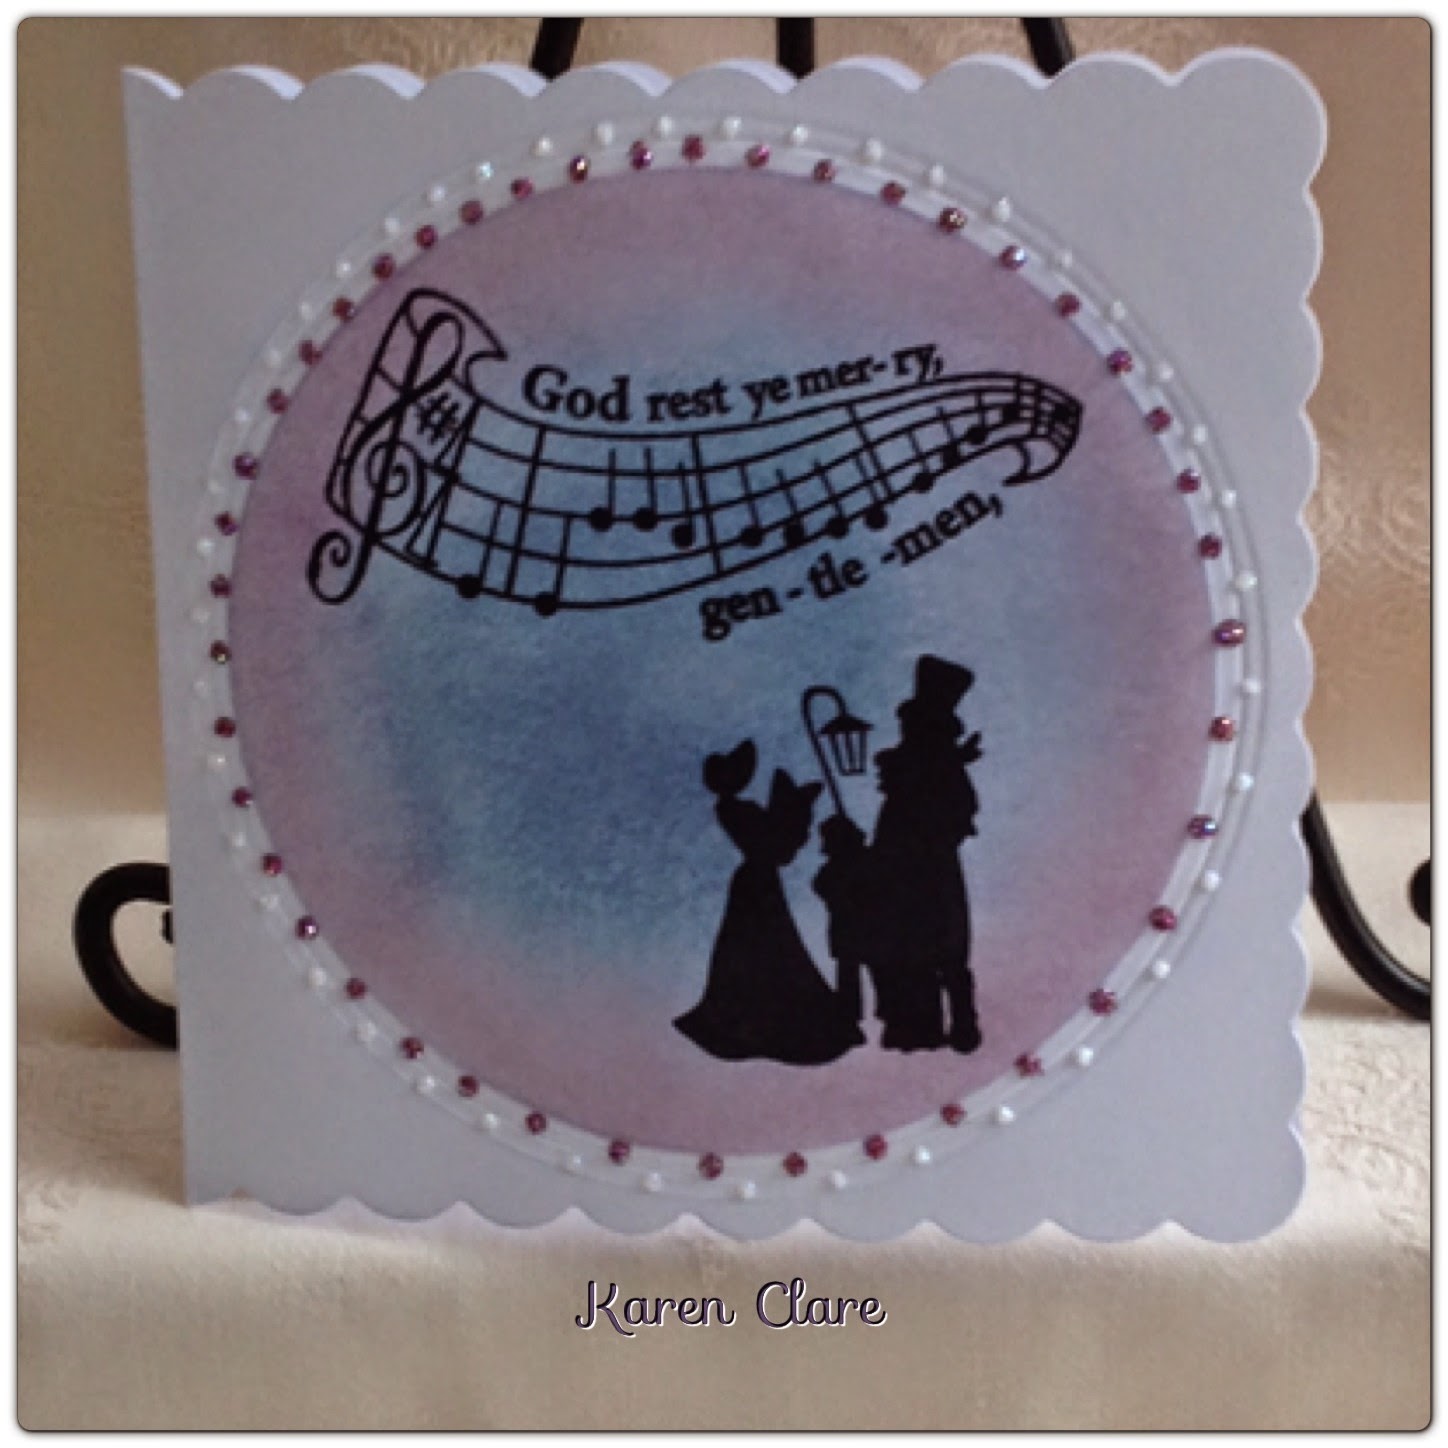
Christmas Carollers

I needed to catch up with blogging and as it's so hot today I've found a cool spot in my living room with the back doors open to sit and do just this.
It was a bit hectic earlier this week as I had to complete my Clarity samples for this weekends TV shows.
They went off in the post yesterday and I have 3 more from the July shows still to share.
I kept them quite simple and used a large circle die cut for the first two, the first using it to create an aperture and the second for an embossed circle.
For the cream linen card I used an Archival ink pad in plum, cut around the stamped images and attached them with foam pads.
I used a stencil to emboss the cut out circle from the aperture and stuck this behind adding gems and ribbon bows to finish.
The second circle design I blended an ink background on the inner circle and stamped with black Archival for nice crisp images.
Then around the outer embossed circles I added two colours of liquid pearls.
The last card uses a circle effect created by masking giving a large moon or street lamp glow effect.
I blended the ink background using the peacock feathers distress ink pad and an ink duster.
I had the idea of creating a group of carollers for this DL card so I stamped the main image and then used second generation ink for the other two sets.
Liquid pearls again for the moon/lamp glow and ribbons/bows to finish.
Well that's my lot for the July Christmas samples, I hope you can pop over and look at the August designs that I'll be sharing.
Thank you again for reading....xKx


Animals

So it's another new challenge over on the Clarity Stamp Challenge Blog
The theme this time is animals.
Thanks to everyone who entered last months challenge, and congratulations to the winner and our chosen top 5, the standard is always so high.
It makes choosing the too 5 a challenge in itself.
So this month I decided to use an MDF plaque for my design, a keepsake you might give a friend.
I painted the plaque in a neutral colour and masked off the large sun before sponging on paints, blue and white for a cloudy effect and green for the grass, then yellow and white for the sun.
I use either Adirondack paint daubers or emulsion tester pots depending on the colour I want.
Washing up sponges, the yellow ones with the green scourers are good cut up to use for dabbing on paint.
I stamped the Deer from the remountable Winter Wonderland set, the Dear Friend greeting and added some texture to the grass using the Lesson 15 remountable texture set.
The Deer and greeting are stamped in Sepia Archival and the grass texture using the paint with the small texture stamp.
The lovely flower and lace are from Sweet Lilac Flowers and gave just the finish I wanted for this little gift.
Jute string is used for hanging.
I hope you are able to join us over on the challenge this month, there's a £50 Clarity voucher for the lucky winner.
I'll be back soon with the last of my samples for July before the launch of the August designs on C&C this coming weekend.
Thanks for popping by....xKx